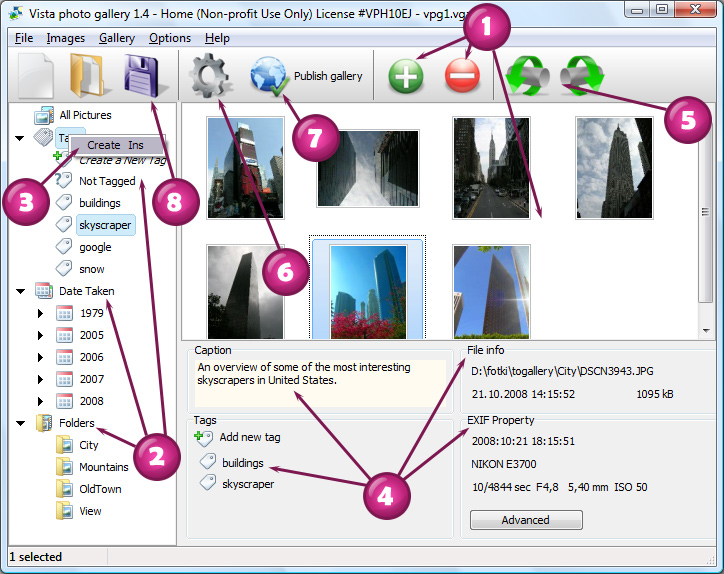
HELP for VISTA WEBSITE GALLERY
1. Adding folders with images or images to website album.
From the Images menu, select Add images...  Browse to the location of the folder you'd like to add and select the images. Vista Photo Gallery will now include that folder. Or you can drag the images (folder) to the Vista Photo Gallery window. The image is copied to your pictures folder and automatically added to your website gallery.
If you have included the images that you do not wish to be in the website photo album, you can easily remove them. Select all images that you wish to remove from web site album, and select Delete images.. from the Images menu. You can pick and choose pictures by holding the CTRL while clicking the pictures you like.
2. Sorting of your images.
All images in your web page gallery are sorted in different ways:
- by folders, as they are situated on your local drive. So, you can save your file structure in the web site gallery, for example:
- by date, for example:
2008/
February/
Feb 5, Tuesday
Feb 6, Wednesday
Feb 11, Monday
...
- tagging
A tag is a description of what is in the picture. What makes tags useful is that if you know what is in the photo, it is easier to search a huge collection for photos that match that tag.
You can apply tags in a variety of ways to help you organize and find photos in your web page album. You can add tags when you first add an image to your collection, or you can select an image, or multiple images, to tag at any time.
3. Swapping of the images, tags and folders in the website gallery.
You can easily swap, create or edit folders and tags.
- To create a new tag click the "Create a new tag" button on the left pane or right click the "Tags" button.
You can also select an image and click "Add new tag" button.
- Right click the folders on the left pane to create a new one.
- To move items select an item (tag or folder) you want and use a mouse drag'n'drop method.
- To assign tags to images or to move images into the folders you should select images (use Ctrl key to select a group of images) and use a mouse drag'n'drop method.
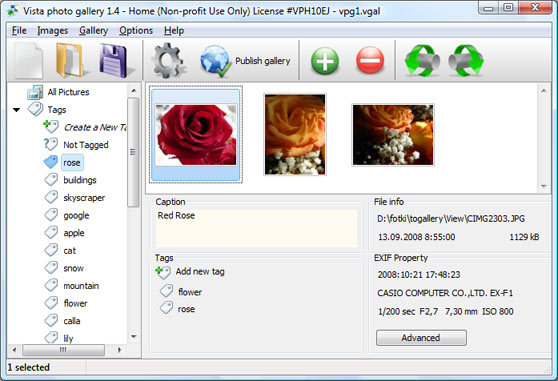
4. Image info.
When you select an image you'll see the various information about it, such as:
- Caption - you can enter any comment or text about the image (up to 512 symbols) in the website photo gallery.
- Tags - when you select an image all tags applied to it will be shown. You can easily add new tags to the selected image or delete some tags.
- File Info - for each image, you will see the file name, full folder path; file size and date of last change.
- EXIF Property - you'll get detailed info about your photos: digital camera model, exposure time, focal ratio, focal length and much more..
5. Editing capabilities.
In this website gallery software you can easily rotate your pictures using "Rotate Left" and "Rotate Right" buttons.

Right click on the picture and select "Edit images.." item to open the selected picture in your default graph editor. You can adjust the color of pictures, as well as fix red-eye and crop out unwanted parts of an image.
6. Gallery properties.
Change the name of your website album, the size and quality of your pictures with Website Photo Gallery. From the Gallery menu, select Properties or use "Edit Gallery Properties" button on the toolbar  .
.
You can establish the various sizes for exported images.
Control the quality of output JPEG format image by defining output "Image quality" parameter (0%�100%).
There is an option to export and display EXIF infos in your gallery.
7. Publishing of the web site gallery.
When you are ready to publish your website photo album online or to local drive for testing you should go to "Gallery/Publish Gallery". Select the publishing method: publish to folder or publish to FTP server.
- publish to folder. To select a local location on your hard drive, just click the Browse folders button and choose a location. Then click Ok. You can also set "Open web page after publishing" option.
- publish to FTP server. The FTP Location Manager window enables you to define a number of connections for use when uploading your web site album to an FTP.
You are able to add a new FTP site by clicking "Edit" to the right of the "Publish to FTP server" drop down list. FTP Location Manager window will appear. Now type in a meaningful (this is not the actual hostname) name for your site and fill in the FTP details in the appropriate fields. You will have to type in your hostname, e.g. domain. The FTP port is normally located on port 21 thus this has been prefilled for you already. If your web site uses another port, you will have to enter it here.
Type in your username and password for the connection. If you do not fill in this information, Vista Photo Gallery is unable to connect to your site and thus not able to upload your gallery to website. If this site enables anonymous connections, just type in anonymous as the username and your e-mail address as the password.
You might want to change the Directory as well if you need to have your uploaded images placed in e.g. "www/gallery/". You can specify it in the FTP Folder field on the Publish Gallery window.
Notice: Write the name of the folder where your website gallery will be placed on the server. Notice that you should specify this field; otherwise your website album will be uploaded into the root folder of your server!
8. Save your photo gallery as project file.
When you exit Vista Photo Gallery, you'll be asked if you want to save your project. The project consists of the pictures you choose to put on your website photo gallery and all your settings. It's a good idea to save the project, because that will allow you to change the project in case you decide to do something different with future galleries. So click Yes, then enter a name for your project. To select the location of your project, just click the Browse folders button and choose a different location. Then click Save.